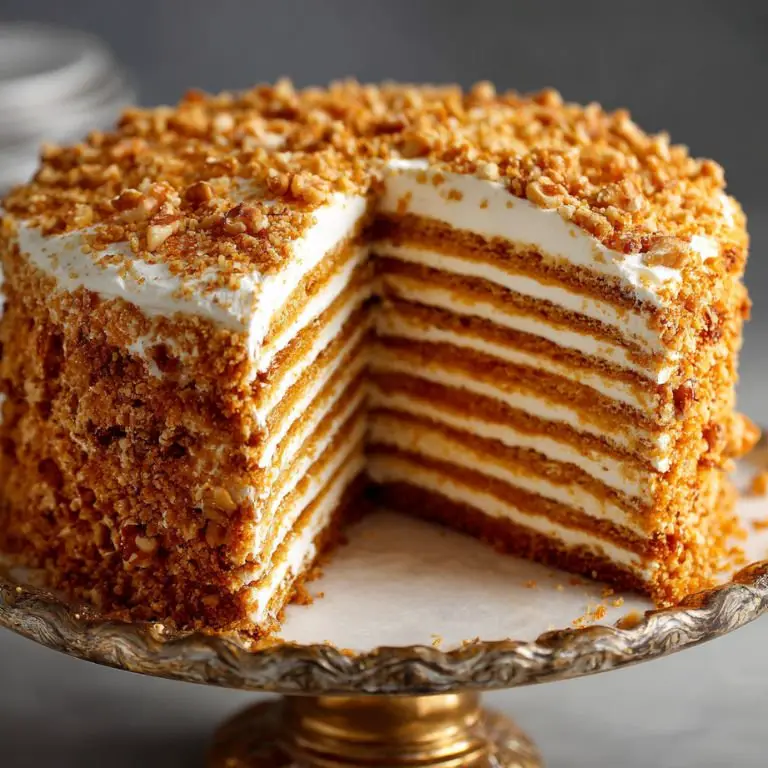
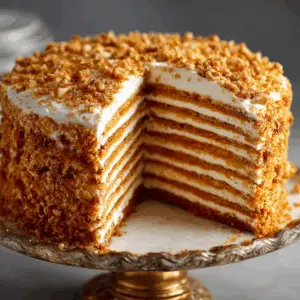
There’s something deeply nostalgic and soul-warming about a slice of Russian Honey Layer Cake—especially when it’s been kissed with the bold, caramelized depth of burnt honey and the nutty crunch of toasted walnuts. This cake isn’t just a dessert—it’s a celebration of generations of Russian recipes traditional to family gatherings and celebrations. Known also as Medovik cake, this version brings an extra layer of richness with its slow-cooked honey base, silky cream filling, and a rustic crumble topping that gives it a homemade charm. If you’re someone who loves diving into old-world Russian sweets, this cake will take you right to a Slavic kitchen, where stories are passed over tea and plates of delicate layered honey cake.
Russian Honey Layer Cake with Burnt Honey and Walnuts
Prep Time 45 minutes mins
Cook Time 30 minutes mins
Total Time 1 hour hr 15 minutes mins
Course Dessert
Cuisine Russian
Heavy-bottomed saucepan Crucial for making burnt honey and heating the honey mixture. A light-colored pan helps you monitor color changes.
Mixing bowls At least two large bowls—one for wet ingredients and one for flour.
Electric mixer or stand mixer Essential for whipping the cream filling to the right consistency.
Rolling Pin Used to roll out the thin cake layers.
Round cake cutter or cake pan base To ensure even-sized cake layers.
Baking sheets with parchment paper Prevents sticking and helps in uniform baking.
Offset spatula or bench scraper For spreading cream and smoothing the sides.
Wire Rack For cooling the layers.
Cake storage container or box for cake transport Keeps your masterpiece intact if you're bringing it to a party or potluck.
For the Cake Layers
- 3/4 cup honey use a floral or wildflower variety for best flavor
- 1/4 cup burnt honey instructions below
- 1 cup granulated sugar
- 3 large eggs room temperature
- 1/2 cup unsalted butter
- 1 tsp baking soda
- 3 1/2 cups all-purpose flour sifted
For the Cream Filling
- 2 cups sour cream full fat
- 2 cups heavy whipping cream
- 1/2 cup powdered sugar
- 2 tsp vanilla extract
For Assembly
- 1/2 cup toasted walnuts finely chopped
- Reserved cake crumbs for decoration
Step 1: Make the Burnt Honey
Start by making the burnt honey, which adds a deep, slightly bitter caramel edge that offsets the sweetness. In a small saucepan, heat 1/2 cup of honey over medium-high heat. Let it boil and darken—watch for it to turn a rich amber, just shy of smoking. This should take around 3–5 minutes. Remove from heat and let cool slightly.
Step 2: Prepare the Honey Mixture
In a heavy-bottomed saucepan over medium heat, combine the remaining 3/4 cup honey, granulated sugar, butter, and the freshly made burnt honey. Stir until the butter melts and the sugar dissolves. Once the mixture is warm (but not boiling), remove from heat.
Immediately whisk in the baking soda—this will cause the mixture to foam and lighten in color. Let it cool slightly, then whisk in the eggs one at a time. Be quick to avoid scrambling the eggs.
Step 3: Mix the Dough
Gradually add the sifted flour into the honey-egg mixture until a soft dough forms. The dough should be pliable and a bit tacky but not too sticky. Divide the dough into 8 equal portions and cover with plastic wrap to prevent drying out.
Step 4: Bake the Layers
Preheat your oven to 350°F (175°C). Roll out each portion of dough into a thin round (about 1/8 inch thick), roughly 8 inches in diameter. Bake each round on a parchment-lined sheet for 5–6 minutes, or until golden brown and puffed slightly.
As each layer comes out, let it cool on a wire rack. Save one or two layers to crumble for the final topping.
Step 5: Make the Cream Filling
In a large bowl, whip the heavy cream until soft peaks form. In a separate bowl, whisk the sour cream with powdered sugar and vanilla extract. Fold the whipped cream into the sweetened sour cream until fully combined. The result should be light, creamy, and tangy—perfectly balanced with the honey layers.
Step 6: Assemble the Cake
Place one cake layer on a serving plate. Spread a generous amount of cream filling over the top. Repeat with the remaining layers, finishing with cream on top and sides.
Crush one of the extra cake layers into fine crumbs and mix with chopped toasted walnuts. Press this mixture gently onto the sides and top of the cake for a rustic, golden crust. This gives the honey cake decoration a homespun, artisanal charm.
Step 7: Chill and Serve
Cover the cake and refrigerate for at least 8 hours, preferably overnight. This allows the cream to seep into the layers and soften them, transforming the crisp rounds into a tender, sliceable masterpiece.
Pairings
This Russian Honey Layer Cake is ideal with a freshly brewed pot of black tea—think Darjeeling or Russian Caravan. The tannins cut through the richness of the cream and highlight the honey’s floral notes. If you’re going full Russian desserts mode, serve it with a platter of Russian tea cakes or a slice of classic Kiev cake for a dessert spread that feels like a page out of a Slavic cookbook.
For a slightly more Western twist, pair it with a glass of sweet Riesling or a spiced chai latte. And if you’re preparing for a holiday table, consider adding pecan pie bars on the side for contrast in texture and a distinctly American nod.
FAQs
1. What kind of honey should I use for this cake?
Use a good-quality wildflower or buckwheat honey. Avoid overly processed honey, as it lacks the complexity needed to shine in the cake and burnt honey.
2. Can I use a different type of nut instead of walnuts?
Yes, pecans work beautifully, especially if you’re looking for a flavor reminiscent of pecan pie bars. Hazelnuts or almonds also offer a nice crunch and earthy undertone.
3. Is it necessary to burn the honey?
Burnt honey adds a unique, rich caramelized flavor. However, if you're looking for a honey cake recipe easy enough for beginners, you can skip this step and just use regular honey—the cake will still be delicious, though slightly sweeter and less complex.
4. Can I use a different frosting?
Traditionally, medovik uses a sour cream or custard-based filling. For a twist, you can use mascarpone whipped with honey or even a cream cheese-based frosting, though that leans more into Greek honey cake territory than Russian honey cake.
5. Can this cake be made in advance?
Absolutely. In fact, it’s better that way. The cake improves as it sits—ideally 24 hours in the fridge. Just be sure to store it in a sealed container or cake transport box to prevent it from drying out or absorbing fridge odors.