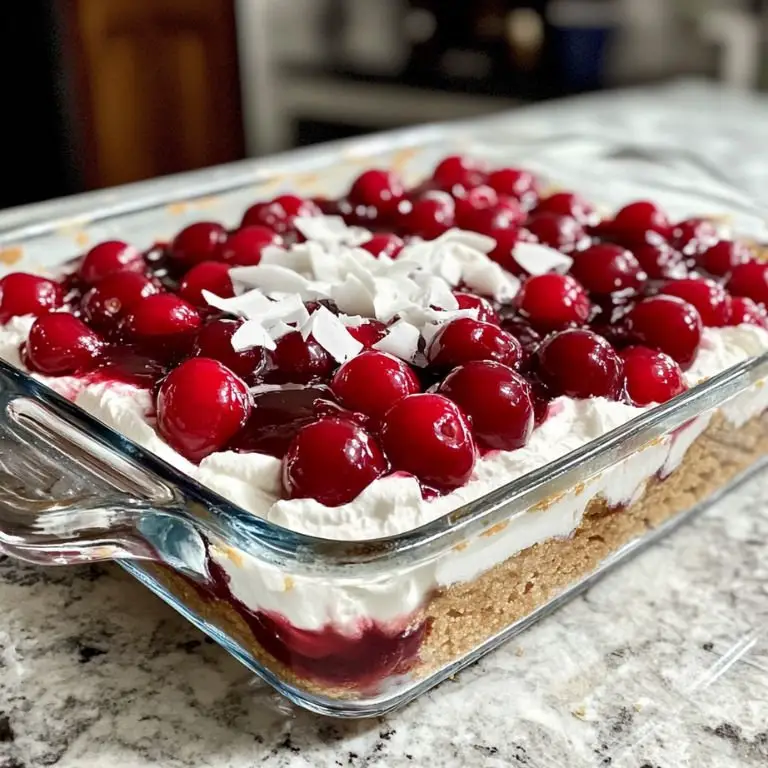
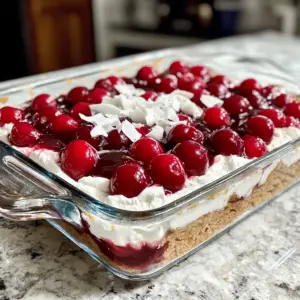
Cherries in the Snow is a vintage no-bake dessert that’s as beautiful as it is delicious. With layers of fluffy whipped topping, sweet cream cheese, and vibrant cherry pie filling, this dish is the perfect blend of creamy, tart, and sweet. Whether you’re making it for a holiday gathering or just indulging in a nostalgic treat, this "cherries in the snow recipe" is an effortless crowd-pleaser.
Classic Cherries in the Snow
Prep Time 15 minutes mins
Chill Time 2 hours hrs
Total Time 2 hours hrs 15 minutes mins
Course Dessert
Cuisine American
Mixing bowls For preparing the creamy filling
Hand mixer or stand mixer To whip the cream cheese and sugar to a smooth consistency
9x9-inch baking dish Ideal for layering the dessert.
Spatula For spreading the layers evenly.
Food processor (optional) To crush the graham crackers quickly. If unavailable, place them in a zip-top bag and crush with a rolling pin.
- 8 oz cream cheese softened
- 1 cup powdered sugar
- 1 teaspoon vanilla extract
- 8 oz whipped topping such as Cool Whip
- 1 package 10-12 graham crackers, crushed (or 1 1/2 cups graham cracker crumbs)
- 1 can 21 oz cherry pie filling
- 1/4 cup unsalted butter melted
Optional Toppings
- White chocolate shavings
- Toasted almond slivers
- Fresh mint for garnish
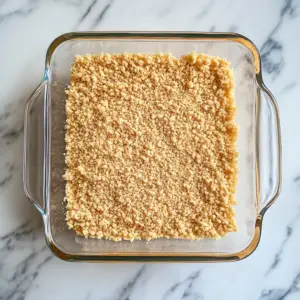
Step 1: Prepare the Crust
Mix the crushed graham crackers with melted butter in a bowl until the mixture resembles wet sand. Press firmly into the bottom of a 9x9-inch dish to create a crust. Place in the refrigerator while you prepare the filling.
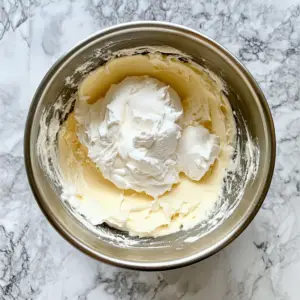
Step 2: Make the Creamy Layer
In a mixing bowl, beat the softened cream cheese, powdered sugar, and vanilla extract until smooth and creamy. Gently fold in the whipped topping until fully incorporated. Spread the mixture evenly over the chilled graham cracker crust.
Step 3: Add the Cherries
Evenly spoon the cherry pie filling over the creamy layer, ensuring full coverage. The vibrant red cherries create a striking contrast against the snowy white filling, making this cherries in the snow dessert truly irresistible.
Step 4: Chill and Serve
Cover and refrigerate for at least two hours to allow the layers to set. Once ready, slice into squares and serve chilled. Garnish with white chocolate shavings or toasted almonds for extra elegance.
Pairings
This dessert pairs wonderfully with a steaming cup of coffee or a rich hot chocolate. If you're serving it after dinner, a glass of sweet dessert wine or a light Moscato complements the tart cherries beautifully. For a twist, serve it alongside other frozen cherries desserts, such as cherry sorbet or a cherry ice cream sundae.
FAQs
1. Can I use fresh cherries instead of canned pie filling?
Absolutely! Just pit and cook fresh cherries with a bit of sugar and cornstarch to thicken the mixture before using.
2. Can I substitute the graham cracker crust?
Yes! Try using crushed shortbread cookies, vanilla wafers, or even a layer of sponge cake for a different texture.
3. How long does Cherries in the Snow last in the fridge?
It stays fresh for up to three days when covered and refrigerated. The longer it sits, the softer the crust becomes.
4. Can I freeze this dessert?
It's best enjoyed fresh, but you can freeze it for up to a month. Just thaw in the refrigerator before serving.