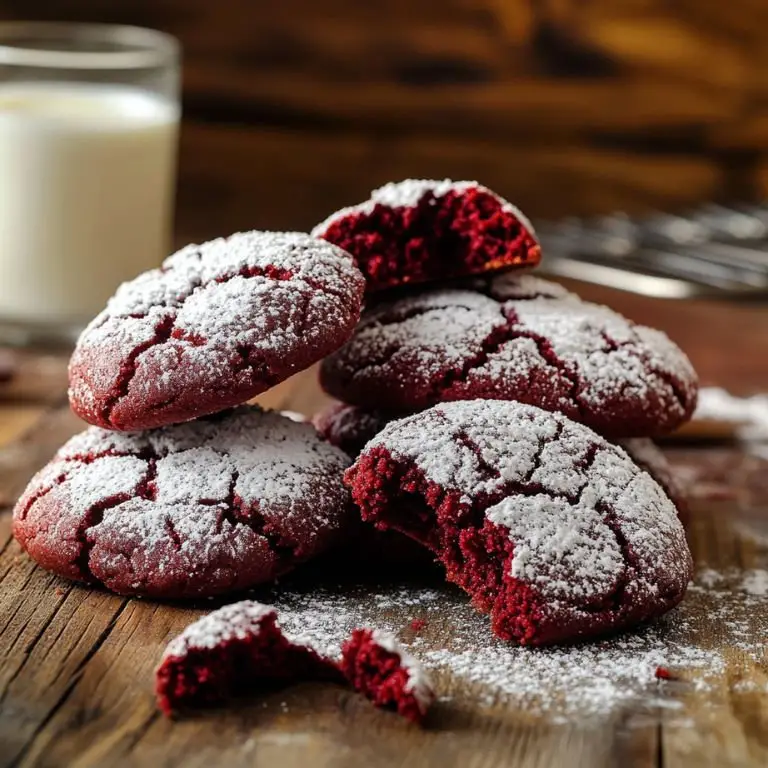
If you're looking for a perfect cookie recipe that combines the richness of red velvet cake with the chewiness of a cookie, these Red Velvet Crinkle Cookies are exactly what you need! With their striking red color, crackly powdered sugar coating, and irresistibly soft texture, they are a must-try for any baking enthusiast. Whether you're adding to your list of homemade cookies recipes or searching for baking ideas to impress your guests, this treat is sure to be a hit!
Red Velvet Crinkle Cookies
Prep Time 15 minutes mins
Cook Time 12 minutes mins
Total Time 27 minutes mins
Course Dessert
Cuisine American
Mixing bowls To mix dry and wet ingredients separately
Electric mixer Speeds up creaming butter and sugar, but a whisk works too
Baking sheets Lined with parchment paper for easy removal
Cookie Scoop Ensures evenly sized cookies, but a spoon works fine
Wire Rack Helps cookies cool faster without getting soggy
For the Cookie Dough
- 2 cups all-purpose flour
- 1/4 cup unsweetened cocoa powder
- 1 1/2 teaspoons baking powder
- 1/4 teaspoon salt
- 1/2 cup unsalted butter softened
- 1 cup granulated sugar
- 2 large eggs
- 1 teaspoon vanilla extract
- 1 teaspoon white vinegar
- 1 tablespoon red food coloring
- 1/2 cup powdered sugar for rolling
Prepare the Dry Ingredients
In a bowl, whisk together flour, cocoa powder, baking powder, and salt. This step ensures the cocoa is evenly distributed, giving your cookies a rich chocolate flavor.
Cream the Butter and Sugar
Using an electric mixer, beat the butter and sugar until light and fluffy. This process is key to creating soft and yummy cookies with the perfect texture.
Add the Wet Ingredients
Mix in the eggs, vanilla extract, vinegar, and red food coloring. The vinegar enhances the red hue while keeping the cookies tender.
Combine Everything
Gradually add the dry ingredients into the wet mixture. Mix until just combined—overmixing can make the cookies dense instead of chewy.
Chill the Dough
Refrigerate the dough for at least 1 hour. Chilling is essential to prevent spreading and helps create those gorgeous crinkles.
Roll and Coat
Scoop out dough, roll into balls, and generously coat each in powdered sugar. This step ensures that delightful crinkle effect when baked.
Bake to Perfection
Place the cookie dough balls on a lined baking sheet and bake at 350°F (175°C) for 10-12 minutes. They should be soft in the center with a crisp outer layer.
Cool and Enjoy
Let the cookies cool on a wire rack before indulging in one of the best cookies in the world!
Pairings & Serving Ideas
These cookies are delightful on their own, but here are a few ways to elevate them:
- With a glass of milk – The classic combo never fails!
- Paired with coffee – The slight bitterness of coffee complements the sweetness of these best cookies ever.
- Sandwich-style – Add a layer of cream cheese frosting between two cookies for an extra indulgence.
- Holiday gift boxes – These cookie recipes from scratch make for a perfect homemade gift!
FAQs
1. Can I use a different type of cocoa powder?
Yes, but stick to unsweetened cocoa powder for the best balance of flavor. Dutch-processed cocoa will give a darker color and a slightly different taste.
2. Can I skip chilling the dough?
No! Chilling helps create the crinkle effect and prevents the cookies from spreading too much.
3. What’s the best way to store these cookies?
Keep them in an airtight container at room temperature for up to 5 days. If you want to keep them longer, freeze them for up to 3 months.
4. Can I use gel food coloring instead of liquid?
Yes, but use less since gel food coloring is more concentrated.
5. Should I use butter or oil?
Butter gives a richer flavor, making these a delicious cookie recipe, but if you prefer a chewier texture, you can substitute half the butter with vegetable oil.