How to Make Queso Fresco from Whole Milk: A Fresh Take on Homemade Cheese

Written by Sarah Gardner

There’s something deeply satisfying about making your own cheese—especially when it’s as simple and rewarding as queso fresco. This soft, crumbly, and mildly tangy cheese is a staple in many Latin American kitchens, and once you make it at home, you’ll wonder why you didn’t try it sooner. It’s one of the most approachable home made cheese recipes out there, requiring just a few ingredients and no fancy aging or culturing. Whether you're curious about trying cheese recipes homemade or just looking for a new cheese snack to add to your repertoire, queso fresco made from whole milk is a great place to start.

Queso Fresco from Whole Milk

Prep Time 10 minutes
Cook Time 30 minutes
Total Time 40 minutes
Course Garnish
Cuisine Mexican
Servings 1 to 1.5 pounds of cheese

Equipment

  • Large heavy-bottomed pot stainless steel or enameled works best
  • Thermometer helpful for precise temperature control (not strictly necessary)
  • Cheesecloth for draining curds
  • Colander lined with cheesecloth
  • Slotted spoon to gently lift curds from the whey
  • Mixing bowl and weights to press the cheese (a can of beans on a plate works fine)

Ingredients
  

  • 1 gallon whole milk avoid ultra-pasteurized
  • 1/4 cup white vinegar or lemon juice acid used to curdle the milk
  • 1 tsp salt or to taste

Instructions
 

Heat the milk

  1. Pour the whole milk into your pot and slowly heat it over medium heat until it reaches 185°F. Stir occasionally to prevent scorching.

Add the acid

  1. Turn off the heat and slowly stir in the vinegar or lemon juice. You’ll see the milk begin to curdle almost immediately. Let it sit for 10 minutes.

Strain the curds

  1. Line a colander with cheesecloth and place it over a bowl. Carefully ladle or pour the curds into the cheesecloth. Let it drain for about 15 minutes for a soft cheese, or longer for a firmer texture.

Salt and shape

  1. Sprinkle in salt to taste and gently mix it in. Gather the cheesecloth and press the curds into a disk. Place a weight on top and let it press for 30–60 minutes, depending on how firm you want your queso fresco.

Unwrap and refrigerate

  1. Once pressed, unwrap your cheese and store it in an airtight container in the fridge. It will last up to a week—if it doesn’t get devoured before then.

Pairings

Queso fresco is incredibly versatile. Crumble it over tacos, salads, or refried beans. It’s amazing on avocado toast or as a topping for roasted vegetables. It also works great in cheese appetizers, adding a salty bite to stuffed peppers or crostini. You can even mix it with scrambled eggs for quick breakfast ideas or layer it into a baked cheese dish alongside sharper cheeses like cheddar.

FAQs

1. Can I use low-fat milk?

Stick to whole milk for the creamiest texture and best yield. Low-fat versions don’t produce enough curds for a satisfying result.

2. What does queso fresco taste like?

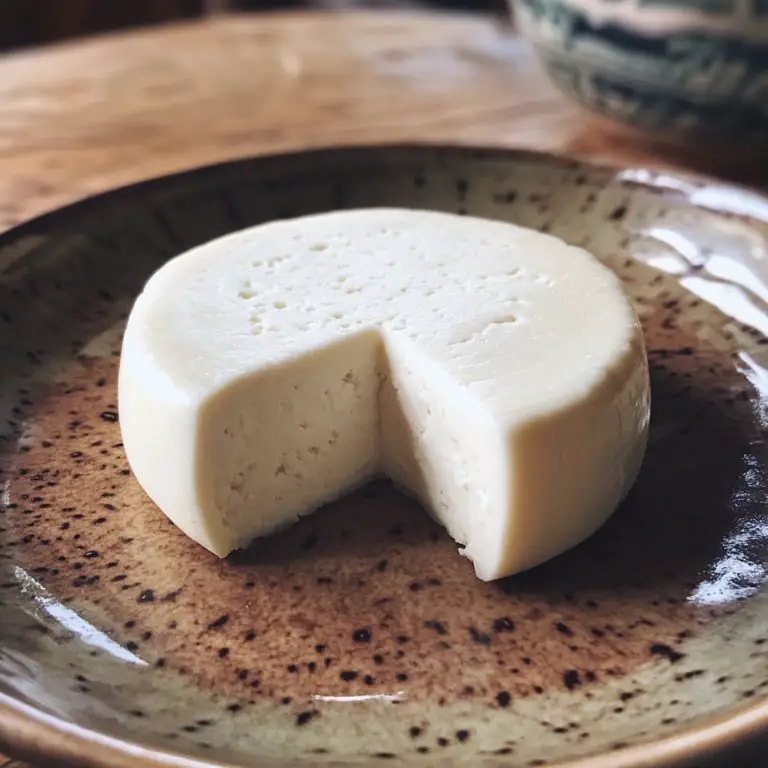
It’s mild, slightly tangy, and delightfully crumbly—perfect for balancing spicy or savory dishes.

3. How is this different from homemade mozzarella?

Mozzarella is a stretched-curd cheese that melts beautifully, perfect for gooey cheese moments like in a cheese pasta bake. Queso fresco doesn’t melt; instead, it softens slightly, making it ideal for topping rather than stuffing or baking.

4. Can I make other cheeses at home?

Absolutely. Once you’ve tried queso fresco, you might find yourself exploring cream cheese recipes, cheddar cheese recipes, or even homemade mozzarella cheese projects. There’s a whole world of cheese food recipes out there.

5. Does it work in cooked dishes?

Yes—but remember, it doesn’t melt like mozzarella or cheddar. Use it in baked cheese casseroles as a topping, or stir into hot dishes just before serving.

Copyright 2025 The Hungry Goddess, all rights reserved.