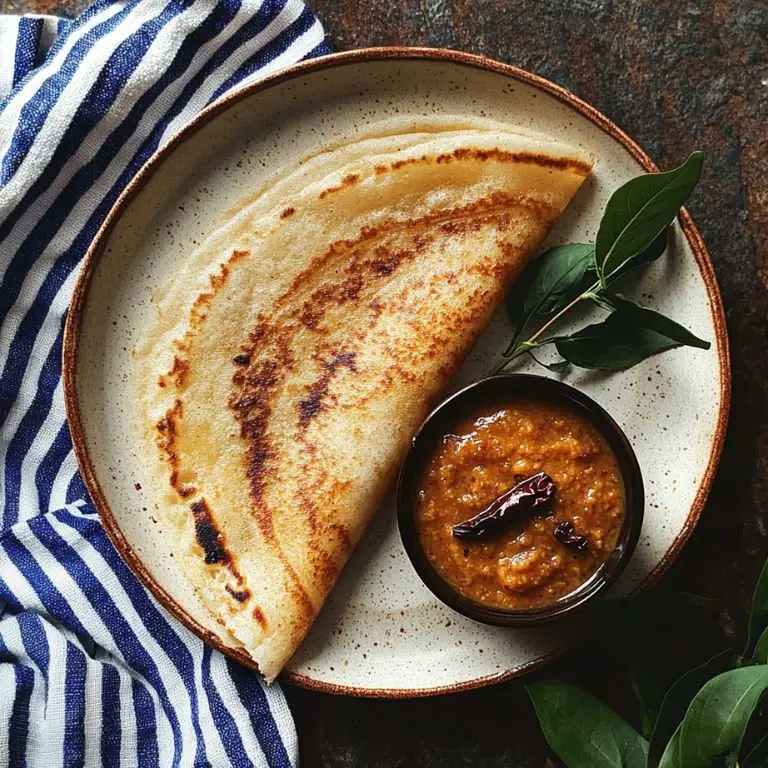
If you’ve ever struggled with making dosa that’s truly crisp and golden, the kind that crackles when folded and has those beautiful lace-like edges, this crispy dosa batter with poha might just be your new favorite discovery. Adding poha (flattened rice) to your batter gives it a lovely softness inside while still allowing that signature dosa crunch. Whether you're making a classic plain dosa, a loaded cheese dosa, or even experimenting with egg dosa or quinoa wraps, this batter is your versatile, go-to base. Let’s break down how to make dosa at home with poha, and why this version deserves a spot in your regular rotation of Indian snack recipes.
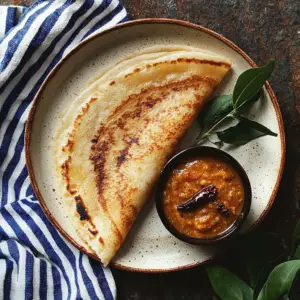
Crispy Dosa Batter with Poha
Prep Time 10 minutes mins
Cook Time 20 minutes mins
Total Time 30 minutes mins
Course Breakfast, Main Course
Cuisine Indian
Blender or Wet Grinder A high-speed blender will do the trick, but a wet grinder gives smoother results and better fermentation for large batches.
Large Mixing Bowl For soaking and fermenting the batter.
Ladle Essential for spreading the batter thinly on the pan.
Cast iron tawa or nonstick pan A cast iron dosa tawa gives that authentic crispiness, but a nonstick pan works well too, especially for beginners.
Spatula For flipping or removing the dosa from the pan.
- 1 cup parboiled rice idli rice or sona masoori
- ½ cup regular rice optional for added crispiness
- ½ cup urad dal skinned black gram
- ¼ cup thick poha flattened rice
- ¼ teaspoon fenugreek seeds methi
- Salt to taste
- Water as needed for soaking and grinding
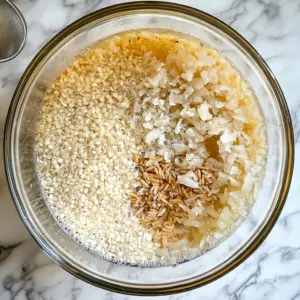
Soak the Ingredients
Rinse both types of rice, urad dal, poha, and fenugreek seeds thoroughly. Soak them together in water for 4 to 6 hours.
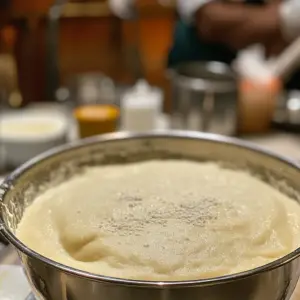
Grind the Batter
Drain the soaked mixture and grind with fresh water to form a smooth, slightly thick batter. It should have a pourable but not runny consistency.
Ferment
Transfer the batter to a large bowl, add salt, and cover. Let it ferment overnight in a warm spot for 8–12 hours. In cooler climates, you can place it in the oven with the light on.
Make the Dosa
Heat your tawa until hot. Pour a ladle of batter in the center and spread it in a circular motion outward to make a thin dosa. Drizzle oil or ghee around the edges.
Cook and Crisp
Let it cook on medium heat until the edges lift and the bottom turns golden and crispy. No need to flip for plain dosa.
Serve
Remove and serve hot with chutney, sambar, or even tucked with a spiced potato masala for a quick masala dosa recipe.
Perfect Pairings
This crispy dosa is amazing with classic accompaniments like coconut chutney and sambar, but don’t stop there. Try pairing it with tomato rasam or even light lentil-based soup recipes for a wholesome South Indian brunch. You could also serve it with a quick paneer or veggie stuffing for a fusion version of set dosa recipe or even use leftover batter for a cheesy twist like cheese dosa.
FAQs
1. Can I use this batter for idli too?
You could, but it’s best to use a separate idli batter recipe for softer, fluffier idlis. This version with poha is more tailored for crisp dosa textures.
2. What kind of poha should I use?
Use thick poha. Thin poha tends to dissolve too quickly and may not give the same binding and fermenting support.
3. Can I use brown rice or quinoa?
You can substitute part of the rice with quinoa for a healthier take—great for quinoa wraps too!
4. Is this the same as neer dosa recipe?
Not quite. Neer dosa has a much thinner batter and doesn’t require fermentation. This recipe needs that fermentation step for the crispiness.
5. What type of dal works best?
Use whole or split urad dal (not the one with skin), and always soak it well for best grinding results.